How to Make Your Own Fashion Accessories: 15 Easy DIY Projects for 2026
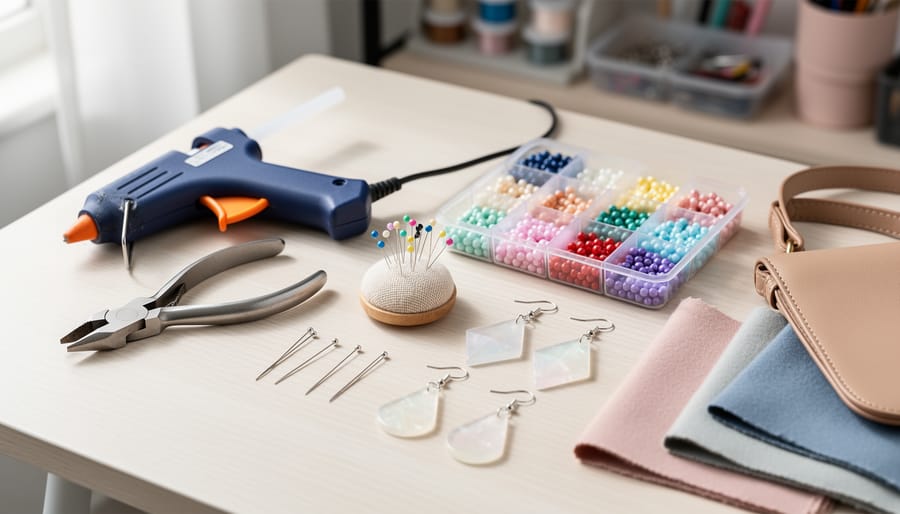
Creating your own fashion accessories at home gives you statement pieces for under $20 in materials and just a few hours of work. This comprehensive guide walks you through 15 trending accessories you can DIY right now, from chunky resin earrings to hand-stitched crossbody bags, each with step-by-step instructions designed for beginners with zero prior crafting experience.
The real power of making your own accessories? You’re not stuck with mass-produced designs everyone else is wearing. Street style in 2026 celebrates individuality, and handmade pieces automatically set you apart. Plus, you control every detail, from color choices that actually match your wardrobe to sizing that fits your body perfectly.
We’ve structured this guide to mirror how you’d actually approach a DIY project: gathering the right tools first, understanding essential safety practices, working through clear instructions for each accessory type, and finally verifying your finished piece meets quality standards. You’ll find material lists with budget-friendly alternatives, common troubleshooting fixes, and pro tips that usually take months to figure out on your own.
Whether you’re building out your jewelry collection, experimenting with headwear, or finally making that belt you’ve been sketching in your notes app, this resource gives you the complete roadmap. No prior sewing skills required. No expensive equipment needed. Just practical guidance that respects your time and delivers wearable results you’ll actually be proud to show off.
What You’ll Need: Essential Tools and Materials for DIY Accessories
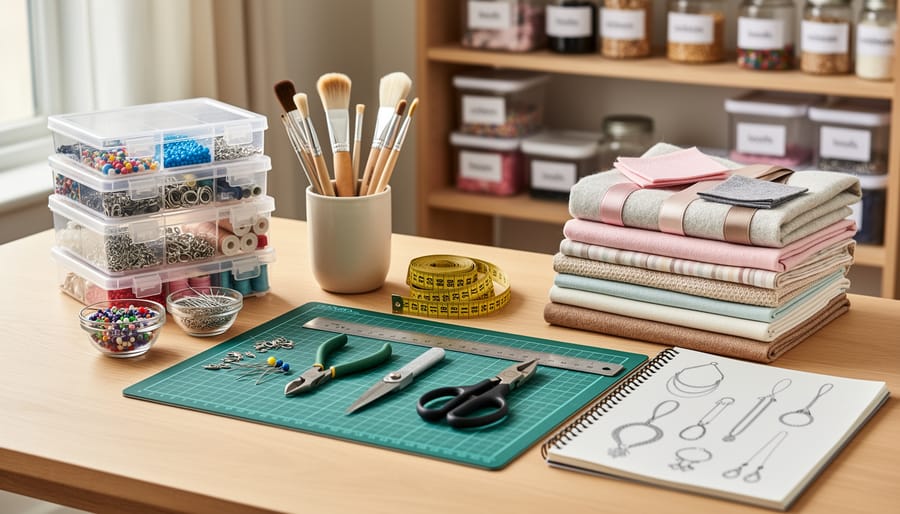
You don’t need a professional studio to start making your own accessories. Most DIY projects require just a handful of affordable tools you can pick up at any craft store, and materials you might already have sitting in a drawer at home.
Start with these essential tools and materials:
- Cutting tools: fabric scissors, wire cutters, craft knife with self-healing mat
- Assembling tools: needle-nose pliers, round-nose pliers, low-temp glue gun with extra glue sticks
- Finishing tools: hand-sewing needles in assorted sizes, embroidery scissors, ruler or measuring tape
- Basic materials: assorted beads (glass, wood, letter beads), jewelry findings (jump rings, clasps, earring hooks), thin jewelry wire and elastic cord
- Fabric supplies: fabric scraps in various prints, elastic bands, ribbon and trim, iron-on patches
- Specialty materials: small leather scraps, chain in different finishes, velvet ribbon, fabric paint
If you’re completely new to crafting, don’t buy everything at once. Pick one project from the list ahead and grab only what you need for that specific accessory. A simple beaded bracelet, for instance, requires just elastic cord, beads, and scissors. As you build confidence, you can expand your toolkit.
Keep your supplies organized in a clear plastic bin or tackle box so you can see what you have. Small compartments work perfectly for keeping jump rings, beads, and findings separated by type and color. A designated workspace with good lighting makes the whole process more enjoyable and helps you spot details as you work.
Budget-conscious? Thrift stores are goldmines for materials. Old necklaces can be taken apart for their beads and chains, vintage belts offer quality leather and interesting buckles, and fabric remnants cost almost nothing. You’ll be surprised how much you can create from upcycled materials that would otherwise end up in a landfill.
Safety First: What to Watch Out for When Crafting
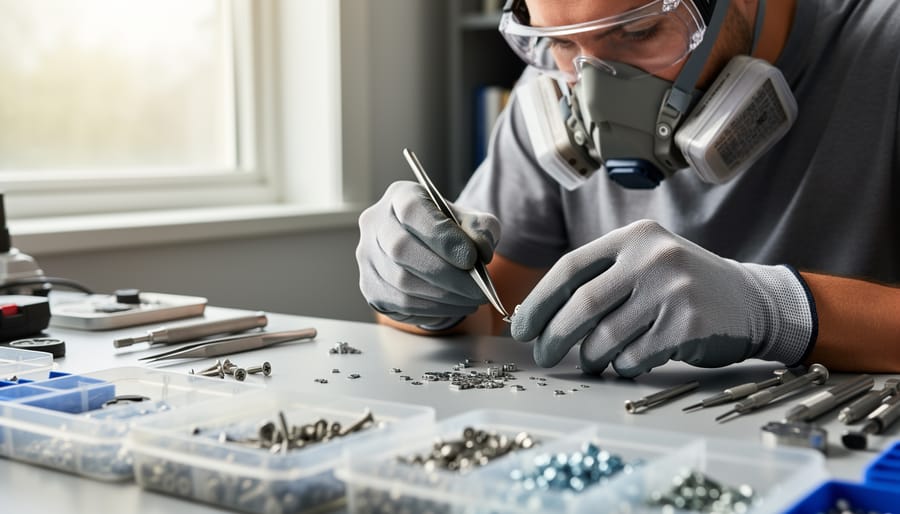
Before you dive into creating your first piece, let’s talk about keeping your crafting sessions safe and stress-free. DIY accessory-making involves tools and materials that can cause injuries if you’re not careful, but a few simple precautions will protect you and your workspace.
Hot glue guns are your best friend for quick assembly, but they can cause serious burns. Always use a heat-resistant mat underneath your glue gun and never leave it unattended while plugged in. If you do burn yourself, immediately run cool water over the area for 10-15 minutes and follow burn prevention and first aid guidelines. Keep a small first aid kit in your crafting space with burn gel and bandages.
Wire cutters and pliers create sharp edges that can scratch or puncture skin. Wear safety glasses when cutting jump rings or trimming wire ends, as small metal pieces can fly up toward your face. File down any rough wire edges with a metal file before wearing your finished piece, and invest in tools with cushioned grips to prevent hand fatigue and blisters during longer projects.
Set up your workspace with good lighting and organize small components in clear containers with secure lids. This prevents beads from rolling onto the floor where they become tripping hazards or get vacuumed up. Keep all sharp tools, chemical adhesives, and spray paints in a labeled box on a high shelf, away from curious kids and pets. A clean, well-organized workspace isn’t just safer, it makes the whole creative process more enjoyable.
15 DIY Fashion Accessories You Can Make Today
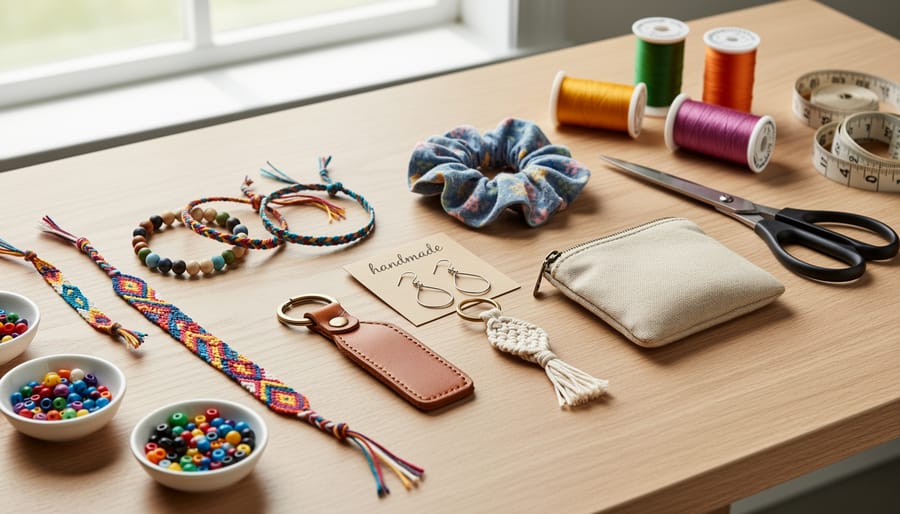
Statement Earrings
Statement earrings instantly elevate any outfit, and making your own lets you control color, length, and vibe. Start with earring hooks (lever-back or fish-hook style), jump rings, and your choice of beads, think glass, wood, metal, or acrylic, or tassel thread for movement.
- Choose 3-5 beads per earring or prep tassel cord by wrapping it around a small piece of cardboard.
- Thread beads onto headpins or tie off the tassel bundle at the top with wire.
- Use round-nose pliers to create a loop at the top of the headpin or tassel wire.
- Open a jump ring with two pairs of pliers (twist sideways, never pull apart) and connect your beaded or tassel piece to it.
- Attach the jump ring to the earring hook, close it securely, and repeat for the second earring.
Keep earrings lightweight to avoid stretching your lobes, three medium beads or a small tassel works perfectly for all-day wear. Test the weight by clipping one to your ear before finalizing both.
Layered Necklaces
Layered necklaces give you that effortlessly chic vibe without the hefty boutique price tag. The trick is mixing lengths, think 14, 16, and 18 inches, so each chain sits perfectly without tangling.
- Cut three different chain lengths (14″, 16″, 18″) using wire cutters, making sure edges are smooth.
- Attach a lobster clasp to one end of each chain using jump rings, securing them tightly with needle-nose pliers.
- Thread your charms and pendants onto individual chains, keep the shortest chain simple, add a small charm to the middle length, and place your statement pendant on the longest.
- Close each necklace by attaching a second jump ring to the opposite end, testing the clasp function before wearing.
Mix metals for a modern look, or stick to all gold or all silver for classic appeal. Add tiny freshwater pearls between links on one chain, or clip on a dainty locket. The beauty of DIY layering is switching up your combo daily, wear all three together or just two for a minimalist moment.
Beaded Bracelets and Anklets
Beaded bracelets and anklets rank among the easiest entry points into DIY accessories, you need minimal supplies and can finish a piece in under 20 minutes. The basic approach works for both: measure your wrist or ankle, add an inch for comfort, then string beads onto elastic cord or waxed thread.
- Wrap measuring tape around your wrist or ankle and add 1 inch to that measurement
- Cut elastic cord 3 inches longer than your measurement to allow room for knotting
- Tape one end to your work surface to prevent beads from sliding off
- String your beads in your chosen pattern, mixing letter beads with spacers or gemstones
- Remove tape and tie the cord ends together with three tight surgeon’s knots
- Trim excess cord to 1/4 inch and dab knot with clear nail polish to seal
Letter bead bracelets spell out names, mantras, or inside jokes, while gemstone versions bring texture and color variation. Try alternating small seed beads with larger focal beads for visual rhythm, or go monochrome with graduating shades of the same color. Stack three or four finished bracelets together for that coveted layered look.
Scrunchies and Hair Ties
Scrunchies are having a major comeback, and making your own lets you match them to your entire wardrobe. You’ll need fabric scraps (8″ × 3″ works perfectly), elastic cord, scissors, and a hot glue gun. For beaded hair ties, grab elastic hair tie cord and your favorite beads.
The no-sew method takes under ten minutes:
- Fold your fabric strip in half lengthwise, right sides facing out, and secure one end with a small dot of hot glue.
- Thread a 7-inch piece of elastic through the fabric tube using a safety pin, gathering the fabric as you go.
- Once the elastic is through, tie the ends together tightly and trim excess.
- Seal the fabric ends by tucking one inside the other and securing with hot glue.
For beaded hair ties, cut elastic cord to 8 inches, string on alphabet beads or colorful pony beads in your chosen pattern, then knot the ends securely. Double-knot and add a tiny drop of clear nail polish to prevent unraveling. Velvet fabric creates luxe scrunchies, while cotton prints give you endless pattern options. Make a whole rainbow set in an afternoon.
Embellished Headbands
Grab a plain plastic or fabric headband, you probably have one sitting in a drawer, and turn it into a statement piece in under 30 minutes. Pearls scream elegance, silk flowers bring romantic vibes, and fabric wrapping gives you endless color options. Hot glue is your best friend here, but fabric glue works if you want flexibility.
Start with a clean, oil-free headband. If you’re wrapping with ribbon or fabric strips, secure one end with a dab of glue at the underside, then wind tightly around the band, overlapping slightly as you go. For pearl or rhinestone embellishments, plan your pattern first, symmetrical clusters at the top or scattered asymmetrically for an edgier look.
- Lay out your embellishments on the headband without gluing to finalize the design
- Apply a small dot of hot glue to the back of each element, less is more to avoid messy overflow
- Press firmly for 10 seconds, holding until the glue sets completely
- Work in sections from one end to the other to maintain even spacing
- Let the entire piece dry flat for 20 minutes before handling or wearing
Silk flowers look best in odd-numbered clusters (three small blooms beats two large ones). If you’re using heavy embellishments like large brooches or chunky beads, reinforce with fabric glue on top of the hot glue for durability. Test the headband by gently flexing it, nothing should pop off. Pair your finished piece with a slicked-back bun or loose waves to let the headband take center stage.
Custom Tote Bags
Canvas tote bags are the perfect blank canvas for personal expression, and they’re one of the easiest accessories to customize. Start with a plain cotton or canvas tote from a craft store (they’re usually under $5) and gather your decoration supplies, fabric paint, iron-on patches, or embroidery floss work beautifully.
- Wash and iron your tote to remove sizing and create a smooth surface
- Slip cardboard inside to prevent paint bleeding through to the other side
- Plan your design with chalk or a light pencil sketch
- Apply your chosen decoration method, working from top to bottom
- Let everything cure completely (24 hours for paint, follow package instructions for patches)
For fabric paint, simple block lettering or abstract shapes work best for beginners. Iron-on patches let you add instant personality without artistic skills, layer vintage-style patches for a collector vibe. If you’re trying embroidery, start with basic chain stitches or French knots to outline simple shapes like hearts or initials. Heat-set painted designs with an iron on the reverse side to make them washable, and always turn your finished tote inside out before washing to protect your artwork.
Belt Makeovers
Belts are some of the easiest accessories to customize, you can transform a dull thrift-store find with paint or studs, or craft your own from scratch using leather or faux-leather strips. Start with a plain belt and add brass rivets, chain details, or fabric wrapping for instant edge. For a new belt:
- Measure your waist or hips (where you’ll wear it) and add 8-10 inches for overlap and adjustment
- Cut a leather or faux-leather strip to that length, about 1.5 inches wide
- Use a leather hole punch to create evenly spaced holes along one end, start 2 inches from the tip and space them 1 inch apart
- Attach a buckle by folding the opposite end around the buckle bar and securing with glue or rivets
Raid your local thrift shop for belts with interesting buckles, swap them onto new straps or layer multiple thin belts together for a stacked look. A coat of metallic paint or a row of pyramid studs can rescue even the most dated belt from obscurity.
Bandanas and Neck Scarves
For a classic bandana, grab a 22-inch square of lightweight cotton fabric and fold each edge in twice (about a quarter-inch each fold) to create a clean hem. Pin as you go, then run a straight stitch along all four sides. Want more personality? Pick up a pack of plain white cotton bandanas and transform them with tie-dye:
- Dampen the bandana and twist it into a spiral from the center, securing with rubber bands to create sections.
- Mix your dye according to package directions and apply different colors to each wedge.
- Wrap in plastic and let sit for 6-8 hours before rinsing with cold water until it runs clear.
- Wash separately once, then air dry.
Smaller neckerchiefs work too, cut 18-inch squares for a more delicate look that ties easily at the front or side. Pair finished bandanas with oversized blazers or layer over turtlenecks for that throwback street-style vibe. The beauty here is speed: you can knock out three or four in an afternoon and rotate them all week.
Anklets and Toe Rings
Anklets capture that effortless summer aesthetic, barefoot on the beach or paired with strappy sandals, and they’re surprisingly simple to make. For a basic beaded anklet, measure your ankle loosely (about 9-10 inches for most adults), add an inch for the clasp, then string your chosen beads onto elastic cord or beading wire. Mix seed beads with small gemstone chips, or go minimalist with tiny gold-filled spacers. Secure with a lobster clasp and jump rings if you’re using wire, or tie a surgeon’s knot and seal with clear nail polish for elastic.
Toe rings work best in lightweight wire, 20 or 22 gauge is ideal because it’s bendable but holds its shape. Here’s the basic wire-wrapping technique:
- Cut 6 inches of wire and wrap it twice around the base of your toe (not too tight, you need to slide it on and off)
- Twist the ends together once to secure the circle, leaving both wire tails extending
- Thread a small bead onto one tail, then wrap that wire around the ring band 2-3 times to anchor it
- Trim excess wire and use round-nose pliers to tuck the sharp end flat against the band
Start with your second toe since it’s usually the longest and easiest to work with. If the wire feels scratchy, file any rough spots with a nail file or fine-grit sandpaper. These pieces are delicate, skip them for intense beach volleyball, but they’ll hold up fine for casual wear.
Brooch Pins
Brooch pins let you turn vintage buttons, felt scraps, or leftover beads into wearable art in under 20 minutes. Raid your grandma’s button jar or hit up thrift stores for mismatched treasures, oversized coat buttons and retro enamel pieces make especially bold statements.
For a simple felt brooch, cut your base shape (think hearts, stars, or abstract blobs), then layer smaller contrasting felt pieces on top. Here’s how to assemble:
- Stack your felt layers and secure with fabric glue, letting it dry for 5 minutes.
- Add embellishments like beads, sequins, or embroidery thread details.
- Flip the piece over and glue a pin-back finding to the center, pressing firmly for 30 seconds.
- Let the glue cure completely (check the bottle, usually 24 hours) before wearing.
For button brooches, skip the felt and attach the pin-back directly to the button’s shank using strong jewelry glue or by wrapping with thin wire for extra security. Cluster three mismatched buttons together for an eclectic vibe, or go solo with one chunky vintage piece. Test the pin closure before you head out, nothing kills the look like your brooch hitting the pavement mid-strut.
Sunglasses Chains
Sunglasses chains bring retro vibes back with a practical twist, no more lost shades, plus instant necklace when you take them off. You’ll need eyewear silicone loops (the kind that slip over temple tips), about 24-26 inches of chain or beading cord, two jump rings, pliers, and your choice of beads.
- Slip a silicone loop onto each temple end of your sunglasses, positioning them about half an inch from the tips.
- Attach a jump ring to each loop using pliers, open the ring sideways, thread it through, then close firmly.
- String your beads onto the cord or use pre-made chain, leaving the ends free.
- Connect each cord end to a jump ring with a secure knot or crimp bead, testing the connection by tugging gently.
Try mixing pearl and gold beads for classic elegance, or go bold with chunky resin shapes and bright colors. The chain should sit comfortably around your neck when the glasses are off, not too tight, not dangling past your chest. This doubles as a standalone accessory, so make it something you’d wear even without the sunglasses attached.
Phone Charms and Straps
Remember when everyone had beaded phone straps dangling from their flip phones? That Y2K aesthetic is back, and you can recreate it for your smartphone with a few simple materials. These nostalgic accessories add personality to your device while giving you a secure grip.
Start by choosing your beads, pony beads, letter beads spelling your name, or chunky acrylic shapes work perfectly. You’ll need elastic cord or nylon jewelry thread (about 6-8 inches), plus a phone charm loop or split ring that fits through your phone case hole. If your case lacks a charm hole, adhesive phone strap anchors stick securely to the back.
- Thread your elastic cord through the phone loop or split ring, then tie a secure knot to create a stable anchor point.
- String your beads in your chosen pattern, leaving about an inch of cord at the end for tying off.
- Tie a tight double knot, trim excess cord, and seal the knot with a tiny dab of clear nail polish or jewelry glue.
- Let it dry completely before attaching to your phone case to ensure the knot holds under daily use.
Mix oversized charms like tiny plushies or resin shapes with your beaded sections for extra visual interest. Test the weight, heavier charms look cool but might strain your case over time. Keep straps under 8 inches to avoid snagging on pockets or bags.
Ring Stacks
Wire-wrapped rings are an easy entry point into jewelry making. You only need 20-gauge jewelry wire, round-nose pliers, and a ring mandrel or marker to wrap around for sizing.
- Cut 8 inches of wire and find the midpoint
- Wrap the wire around your mandrel at your desired ring size, creating two equal tails
- Twist both wire ends together three times above the band
- Use round-nose pliers to curl each tail into a decorative spiral
- Trim excess wire and file any sharp ends smooth
For stacked bead rings, thread tiny seed beads or gemstone chips onto thinner wire before wrapping. Mix metals like copper, silver, and gold-tone wire to create layered sets that look expensive but cost under five dollars to make. Wear three to five rings together on one finger for that maximalist 2026 vibe, or spread them across multiple fingers for a subtler effect.
Decorated Hair Clips
Decorated hair clips let you turn drugstore bobby pins and basic barrettes into custom pieces that match your outfit or mood. Start with a pack of plain metal clips in your preferred size, larger claw clips work great for pearls and flowers, while flat bobby pins are perfect for rhinestone accents. Clean each clip with rubbing alcohol to remove any oils before decorating. For rhinestones and pearls, use E6000 jewelry adhesive or a strong craft glue rather than hot glue, which doesn’t hold up to repeated use and hair product buildup. Arrange your design on a flat surface before gluing to nail the placement. Small tweezers help position tiny gems exactly where you want them. Fabric flowers look killer on alligator clips, just secure the base with glue and add a small felt circle underneath for extra grip.
To make sure your clips actually last through daily wear:
- Apply glue to the clip surface (not the decoration) in a thin, even layer
- Press each element firmly for 30 seconds and hold steady
- Let cure completely for 24 hours before touching or wearing
- Test the bond by gently pulling at each decoration before considering it finished
Once cured, your clips should handle normal wear without pieces falling off. If you’re making multiple clips, work in batches and let each set dry overnight. Asymmetrical placement looks more modern than perfectly centered designs, try clustering rhinestones on one side or positioning a single statement pearl off-center.
Chokers
Chokers offer instant ’90s nostalgia with a modern twist, and they’re surprisingly simple to make. For a velvet ribbon choker, measure your neck at the base (typically 12-14 inches) and add 2 inches for the closure. Cut your ribbon to length, then follow these steps:
- Seal ribbon ends with a lighter to prevent fraying
- Attach a small lobster clasp to one end using jump rings or by sewing it on
- Add a 2-inch chain extension to the other end for adjustability
- Customize with a center pendant, rhinestone, or small charm
For beaded chokers, string seed beads or letter beads onto elastic cord or fishing line, leaving enough slack to slip over your head comfortably. Lace chokers work beautifully when you sew a ribbon tie onto each end of a 3-inch lace strip, just tie it at your desired tightness. The key is making sure the closure sits at the nape of your neck, not off to one side, so it lays flat and stays put all day.
How to Know Your DIY Accessory Is Ready to Wear
Before you debut your handmade street style accessories run through a quick quality check to make sure they’re safe, secure, and ready for all-day wear. Start by testing every clasp, jump ring, and closure, open and close each one five to ten times to confirm it won’t pop open mid-outfit. Tug gently on necklace chains, bracelet elastic, and earring hooks to ensure they hold up under normal stress.
Run your fingers over every surface to catch sharp wire ends, rough bead edges, or exposed glue that might snag clothing or irritate skin. File down any pointy bits with a nail file or fine sandpaper, and trim excess wire flush with wire cutters. If you’re working with fabric pieces like scrunchies or bandanas, check that all hems are secure and threads are knotted or backstitched so they won’t unravel after a few wears.
Here’s your go-to verification checklist:
- Test all clasps and closures by opening and closing them multiple times
- Check for sharp edges, wire ends, or rough spots that could snag or scratch
- Tug gently on connections to ensure knots, glue, and findings are secure
- Wear the piece for 15 minutes to test comfort and weight distribution
- Inspect finishing touches like knot concealment and symmetry
Do a comfort test by actually wearing the accessory for at least fifteen minutes while you move around. Heavy earrings should feel balanced, bracelets shouldn’t pinch, and necklaces shouldn’t pull on your neck. If something feels off, adjust the length, redistribute weight, or swap out heavier components. Your DIY pieces should feel as good as they look, whether you’re pairing them with cherry-inspired outfits or everyday denim.
What’s Next: Taking Your DIY Accessories to the Next Level
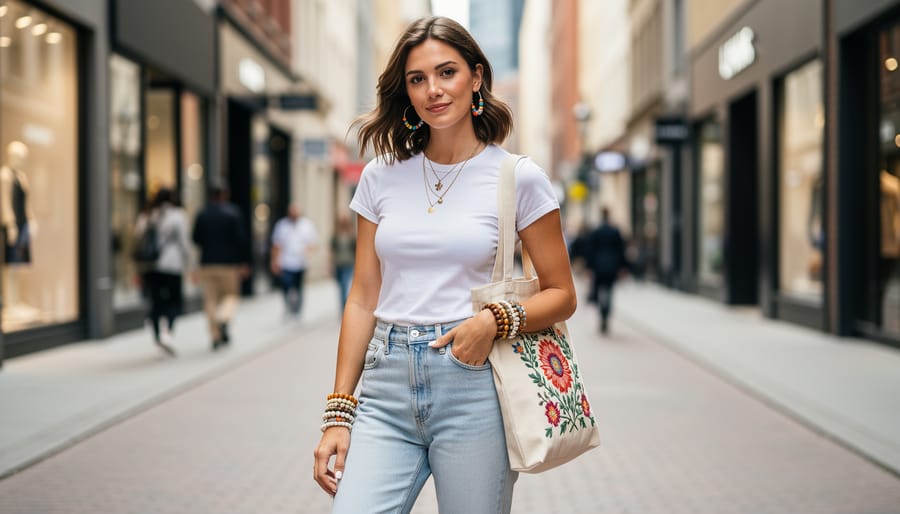
You’ve mastered 15 DIY projects, but this is just the beginning. Once you’re comfortable with basic techniques, experiment with mixed materials like resin casting for custom charms, metal stamping for personalized pendants, or macramé for boho-style accessories. Try combining techniques, add embroidery to your tote bags, layer wire wrapping with beadwork on rings, or mix leather and chain for edgier jewelry. Push your creativity by thrifting vintage components at flea markets or raiding your grandmother’s jewelry box for unique findings you can upcycle into modern pieces.
Share your finished accessories on Instagram or TikTok using hashtags like #DIYfashion and #handmadeaccessories to connect with other makers and get feedback. The Fashion Energy Toronto community is perfect for showcasing your street-style looks featuring your handmade pieces, post photos wearing your creations and discover what others are making. If you’re inspired by runway trends, check out Toronto Fashion Week for seasonal inspiration you can translate into DIY accessories.
Can I sell my DIY accessories?
Absolutely. Platforms like Etsy, Instagram Shops, and local craft markets are perfect for selling handmade accessories. Just ensure your pieces are well-made and photograph them professionally.
How should I price handmade accessories?
Calculate material costs, then add labor time at a fair hourly rate (typically $15-25). Compare similar items on Etsy to gauge market rates and adjust for your skill level.
Where can I find more DIY accessory tutorials?
YouTube channels like Coolirpa and Withwendy offer detailed video tutorials. Pinterest is great for visual inspiration, and craft blogs often provide step-by-step photo guides.
How do I make my DIY accessories last longer?
Seal metal findings with clear nail polish to prevent tarnishing, store pieces in airtight containers, and use jewelry-grade materials rather than craft-store basics for pieces you’ll wear frequently.
Consider hosting an accessory swap party with friends where everyone brings handmade or thrifted pieces to trade. It’s a sustainable way to refresh your collection while building a creative community around you.
You’ve just unlocked a whole new way to express yourself through fashion without emptying your wallet. Making your own accessories isn’t just about saving money, it’s about wearing pieces that tell your story, pieces nobody else has. Every beaded bracelet, every customized tote, every hand-wrapped headband becomes a conversation starter and a reflection of your unique vibe.
The best part? You’re keeping perfectly good materials out of landfills and saying no to fast fashion’s endless cycle. That vintage belt you transformed or those fabric scraps you turned into scrunchies? That’s sustainable style in action.
Start small if the full list feels overwhelming. Pick one project that speaks to you, maybe those statement earrings or a simple beaded anklet, and just dive in. You’ll be surprised how quickly you gain confidence, and soon you’ll be mixing techniques and coming up with your own DIY accessory ideas.
Don’t keep your creations to yourself. Share your finished pieces with the Fashion Energy Toronto community, tag us in your street-style shots, or swap accessories with friends who are on the same creative journey. Your hands made something beautiful, wear it proudly and inspire others to do the same. The only rule in DIY fashion? There are no rules.